Coresix Metrology
At Coresix, we continually invest in the metrology equipment necessary to verify and advance our process results. Following is an overview of our inspection methods and capabilities:
EQUIPMENT
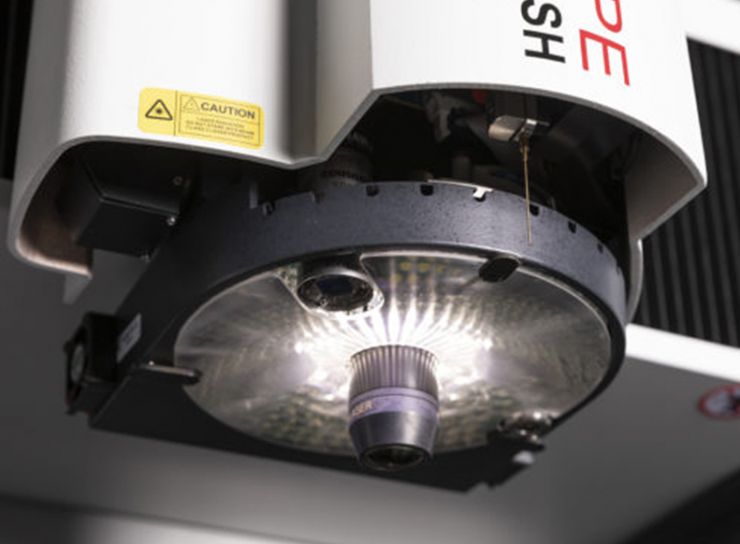
SmartScope™ Flash 500 & Flash 200
The SmartScope® Flash™ 200 and 500 offer all the great Flash features and performance in a large travel bridge-design system. Parts move on a precision DC motor-driven Y-axis stage while the optics assembly travels in the X-axis across a stable bridge cross member. This design assures rapid, smooth part translation and robust measurement performance.
Zygo NewView 6300™
The Zygo Optical Profiler is a powerful tool for characterizing and quantifying surface roughness, step heights, critical dimensions, and other topographical features providing non-destructive analysis of a wide range of surfaces and profile heights ranging from sub-nanometer to millimeters at high speeds.
Tropel FlatMaster© 200
Non-contact optical measurement of surface form up to 200mm in diameter including flatness, bow, warp, sori, line profile, radius, and other surface parameters. This device is used as a guide throughout our lapping and polishing processes as well as verification of final surface form specifications with an accuracy of 50nm.
Class 100 Optical Clean Room
Fed by multiple Ultrasonic Cleaning Lines, our Class 100 Optical Clean Room is equipped with a variety of light conditions correlated to the most stringent quality levels. The final product is inspected 100% for quality and cleanliness by experienced operators prior to packaging.
Keyence IM-7020
Throughout our process and in the final inspection, we use various optical CMMs including OGP Smart Scope and Keyence systems. Measuring critical dimensional parameters at various stages of production allows us to control our process through SPC as well as to capture data to provide our customers.
Zygo PTI 250P™
Used for process control in high-volume production, Provides full 3-D surface and wavefront maps, and radius of curvature of lenses and lens systems. The system reads accurate transmitted wavefront error to 1/20th wave.
CAPABILITIES
| Measurement | Equipment | Capabilities |
|---|---|---|
| Dimensional | SmartScope™ Flash 500 (Non-contact Optical CMM)480mm x 430mm x 200mm measurement range | 1µm resolution ErrorXY = 2.5 + 5L/1000 ìm where L = Length of part measured |
| SmartScope™ Flash 200 (Non-contact Optical CMM) | (Non-contact Optical CMM) 200mm x 200mm x 150mm measurement range ErrorXY = 2.5 + 6L/1000 ìm where L = Length of part measured ErrorZ = 5.0 + 6L/1000 ìm where L = Length of part measured | |
| 3D Surface Map & Transmitted Wavefront | Zygo PTI 250P™ | Fizeau Interferometer Phase Measuring Interferometry for ë/100 uncertainty RMS Repeatability: ë/6000 (1ó) |
| Surface Roughness | Zygo NewView 6300™ | Non-contact, three-dimensional, closed-looped, Piezo-based scanning white light interferometry RMS Repeatability. |
| TTV (Thickness Variance) | Laser Thickness Gauge Repeatability: 0.7 µm | |
| Flatness | Tropel FlatMaster© 200 | 25mm to 200mm measurement range Repeatability: 0.5 µm |